Remember that post I had earlier detailing the creation of a video game control panel? And how it was a standalone component of a much larger system? Well, that system is coming along nicely.
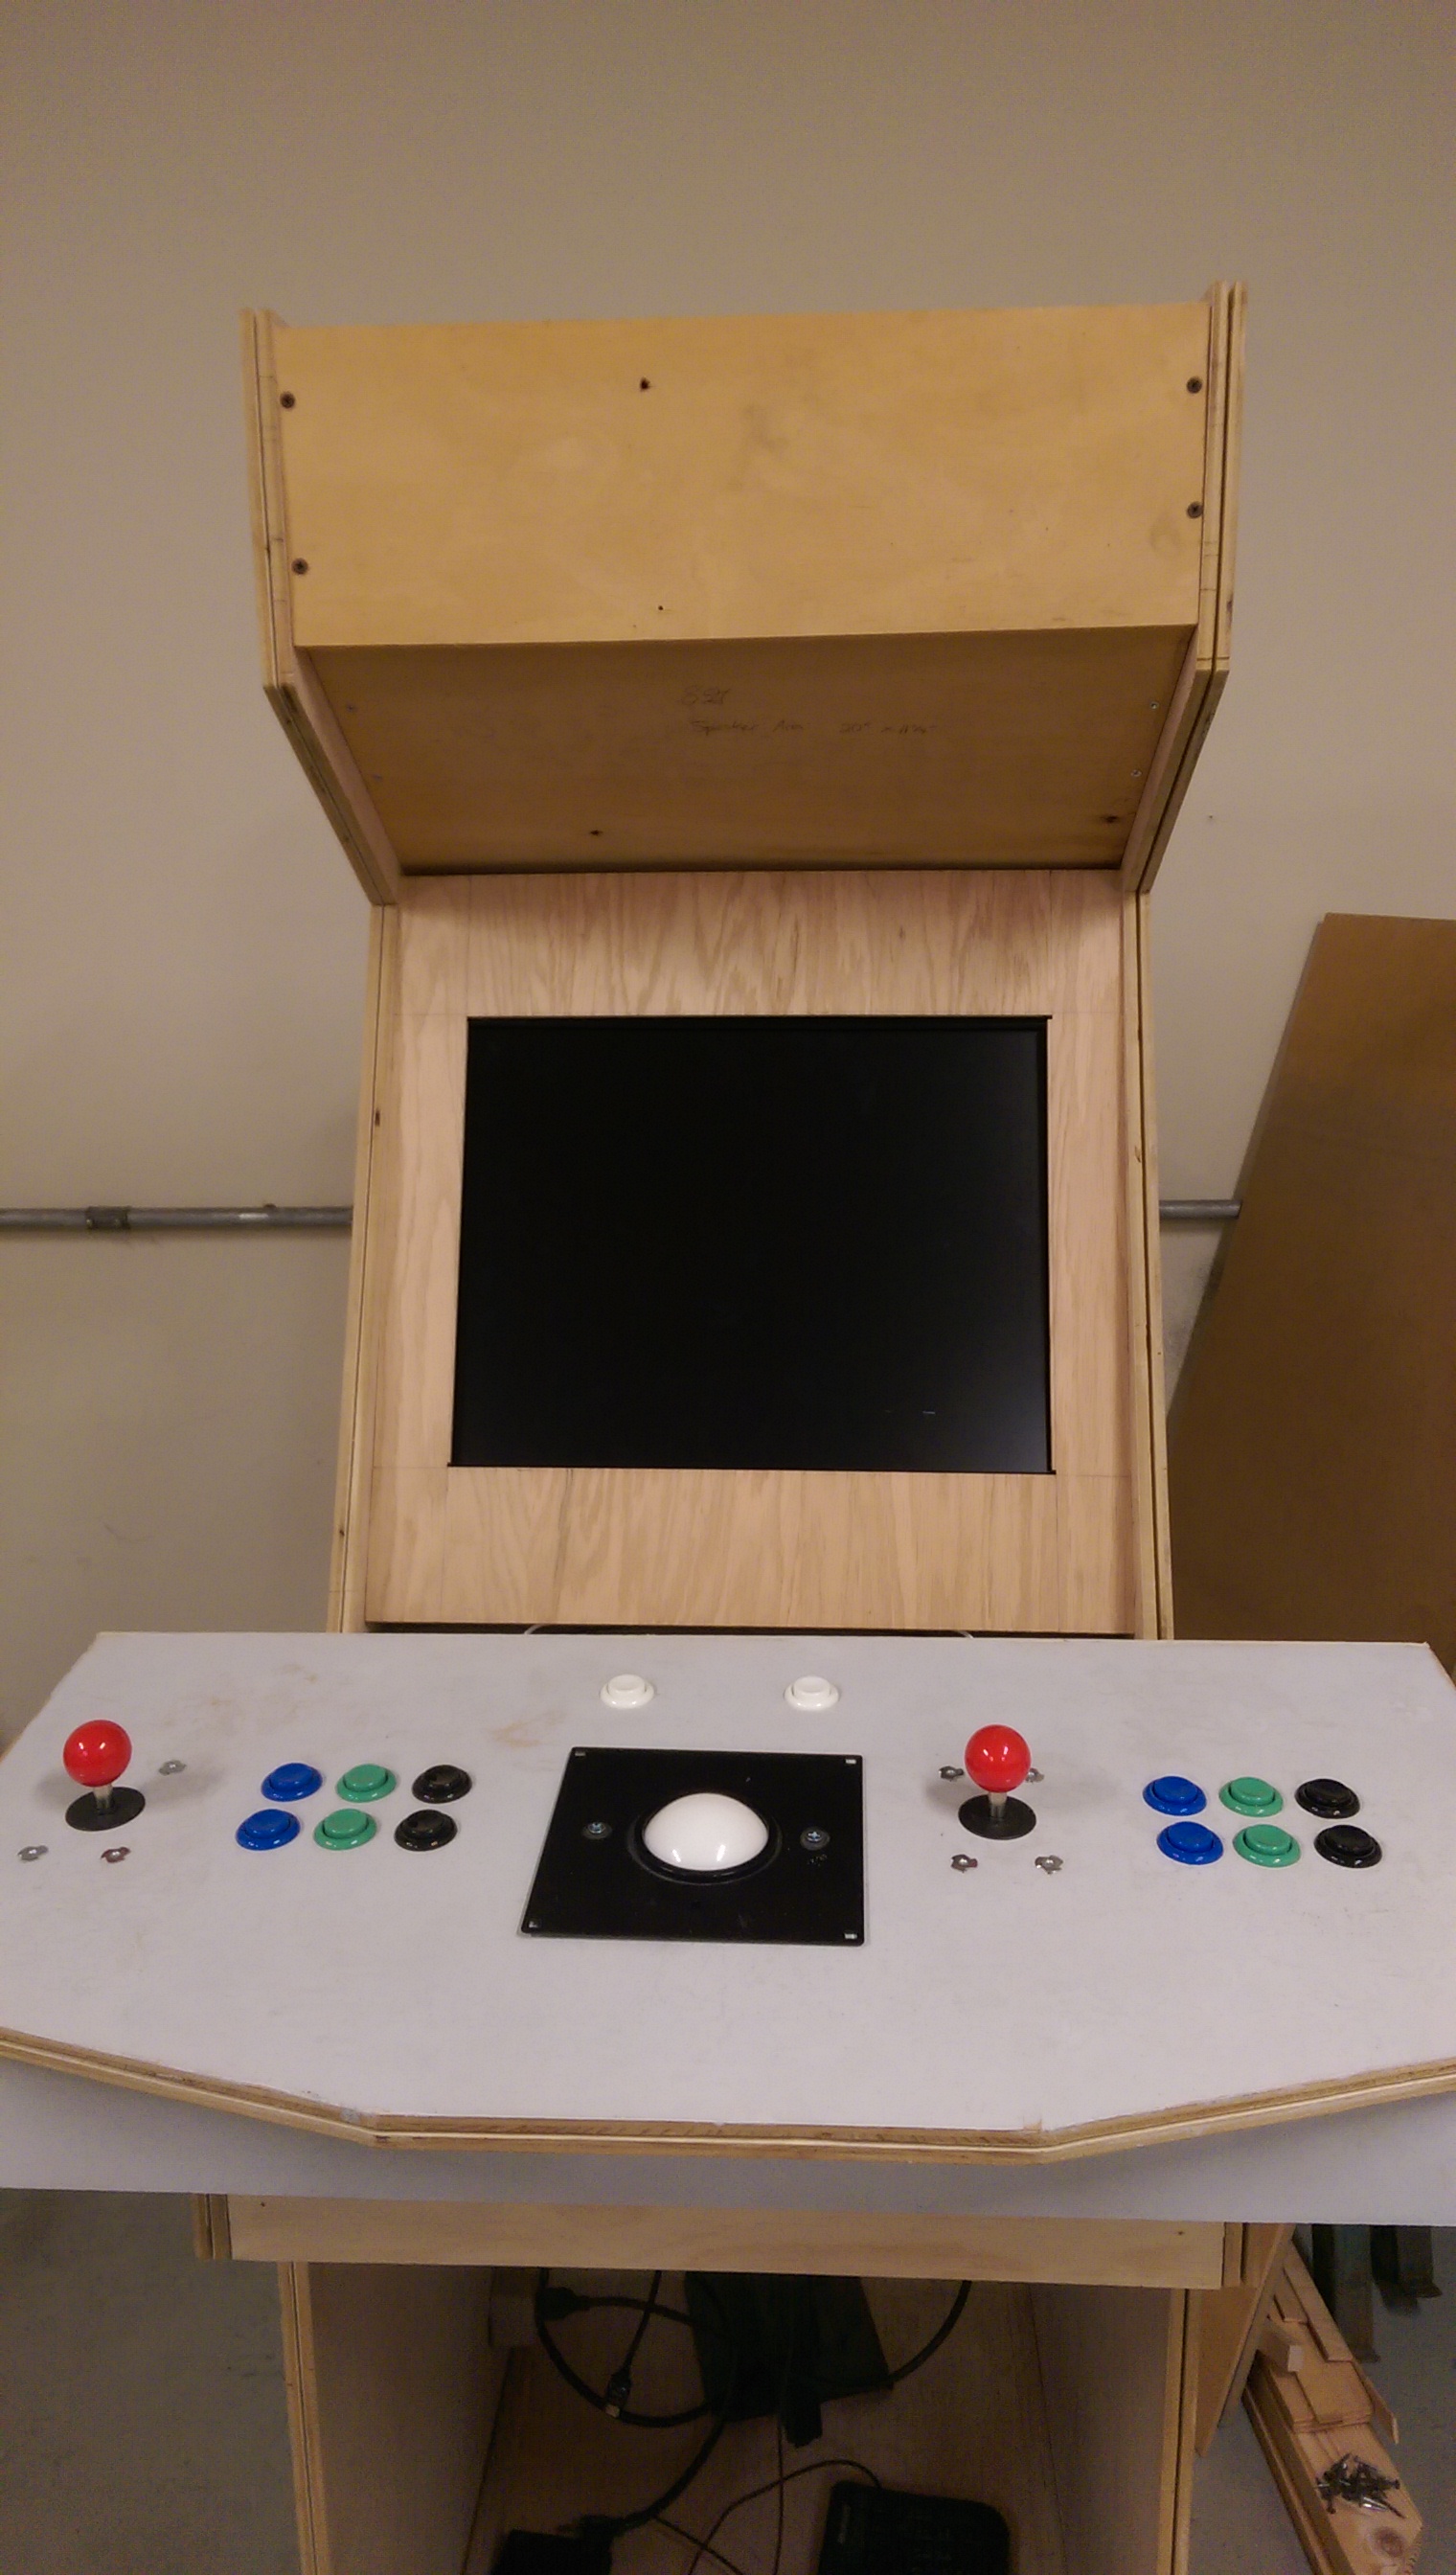
Forward: Those who are interested in a more complete slideshow of pictures can check out this Dropbox album, which contains a full dump of all the photos I took over the three (!) years I’ve been tinkering with this thing.
As before, I’m going to lead off with accolades. By no means did I undertake this project alone.
- Jack Walsh, James Saunders, and Steve Birmingham – How to cut shit on the table saw without murdering myself
- Bill Taylor – Jigsawing for dummies
- Samuel Green – Woodworking supplemental and replacement work
- Jason M’Sadoques – Debugging, build help, general slack picking-up
- Mike Rushton – Raspberry Pi expertise
Last but not least, www.arcadecab.com for the step-by-step instructions. This site was invaluable. It broke down the process from sourcing parts to assembly, and I’m not sure how I would have gotten this far without it. For reference, we used “Cabinet Plans 2.”
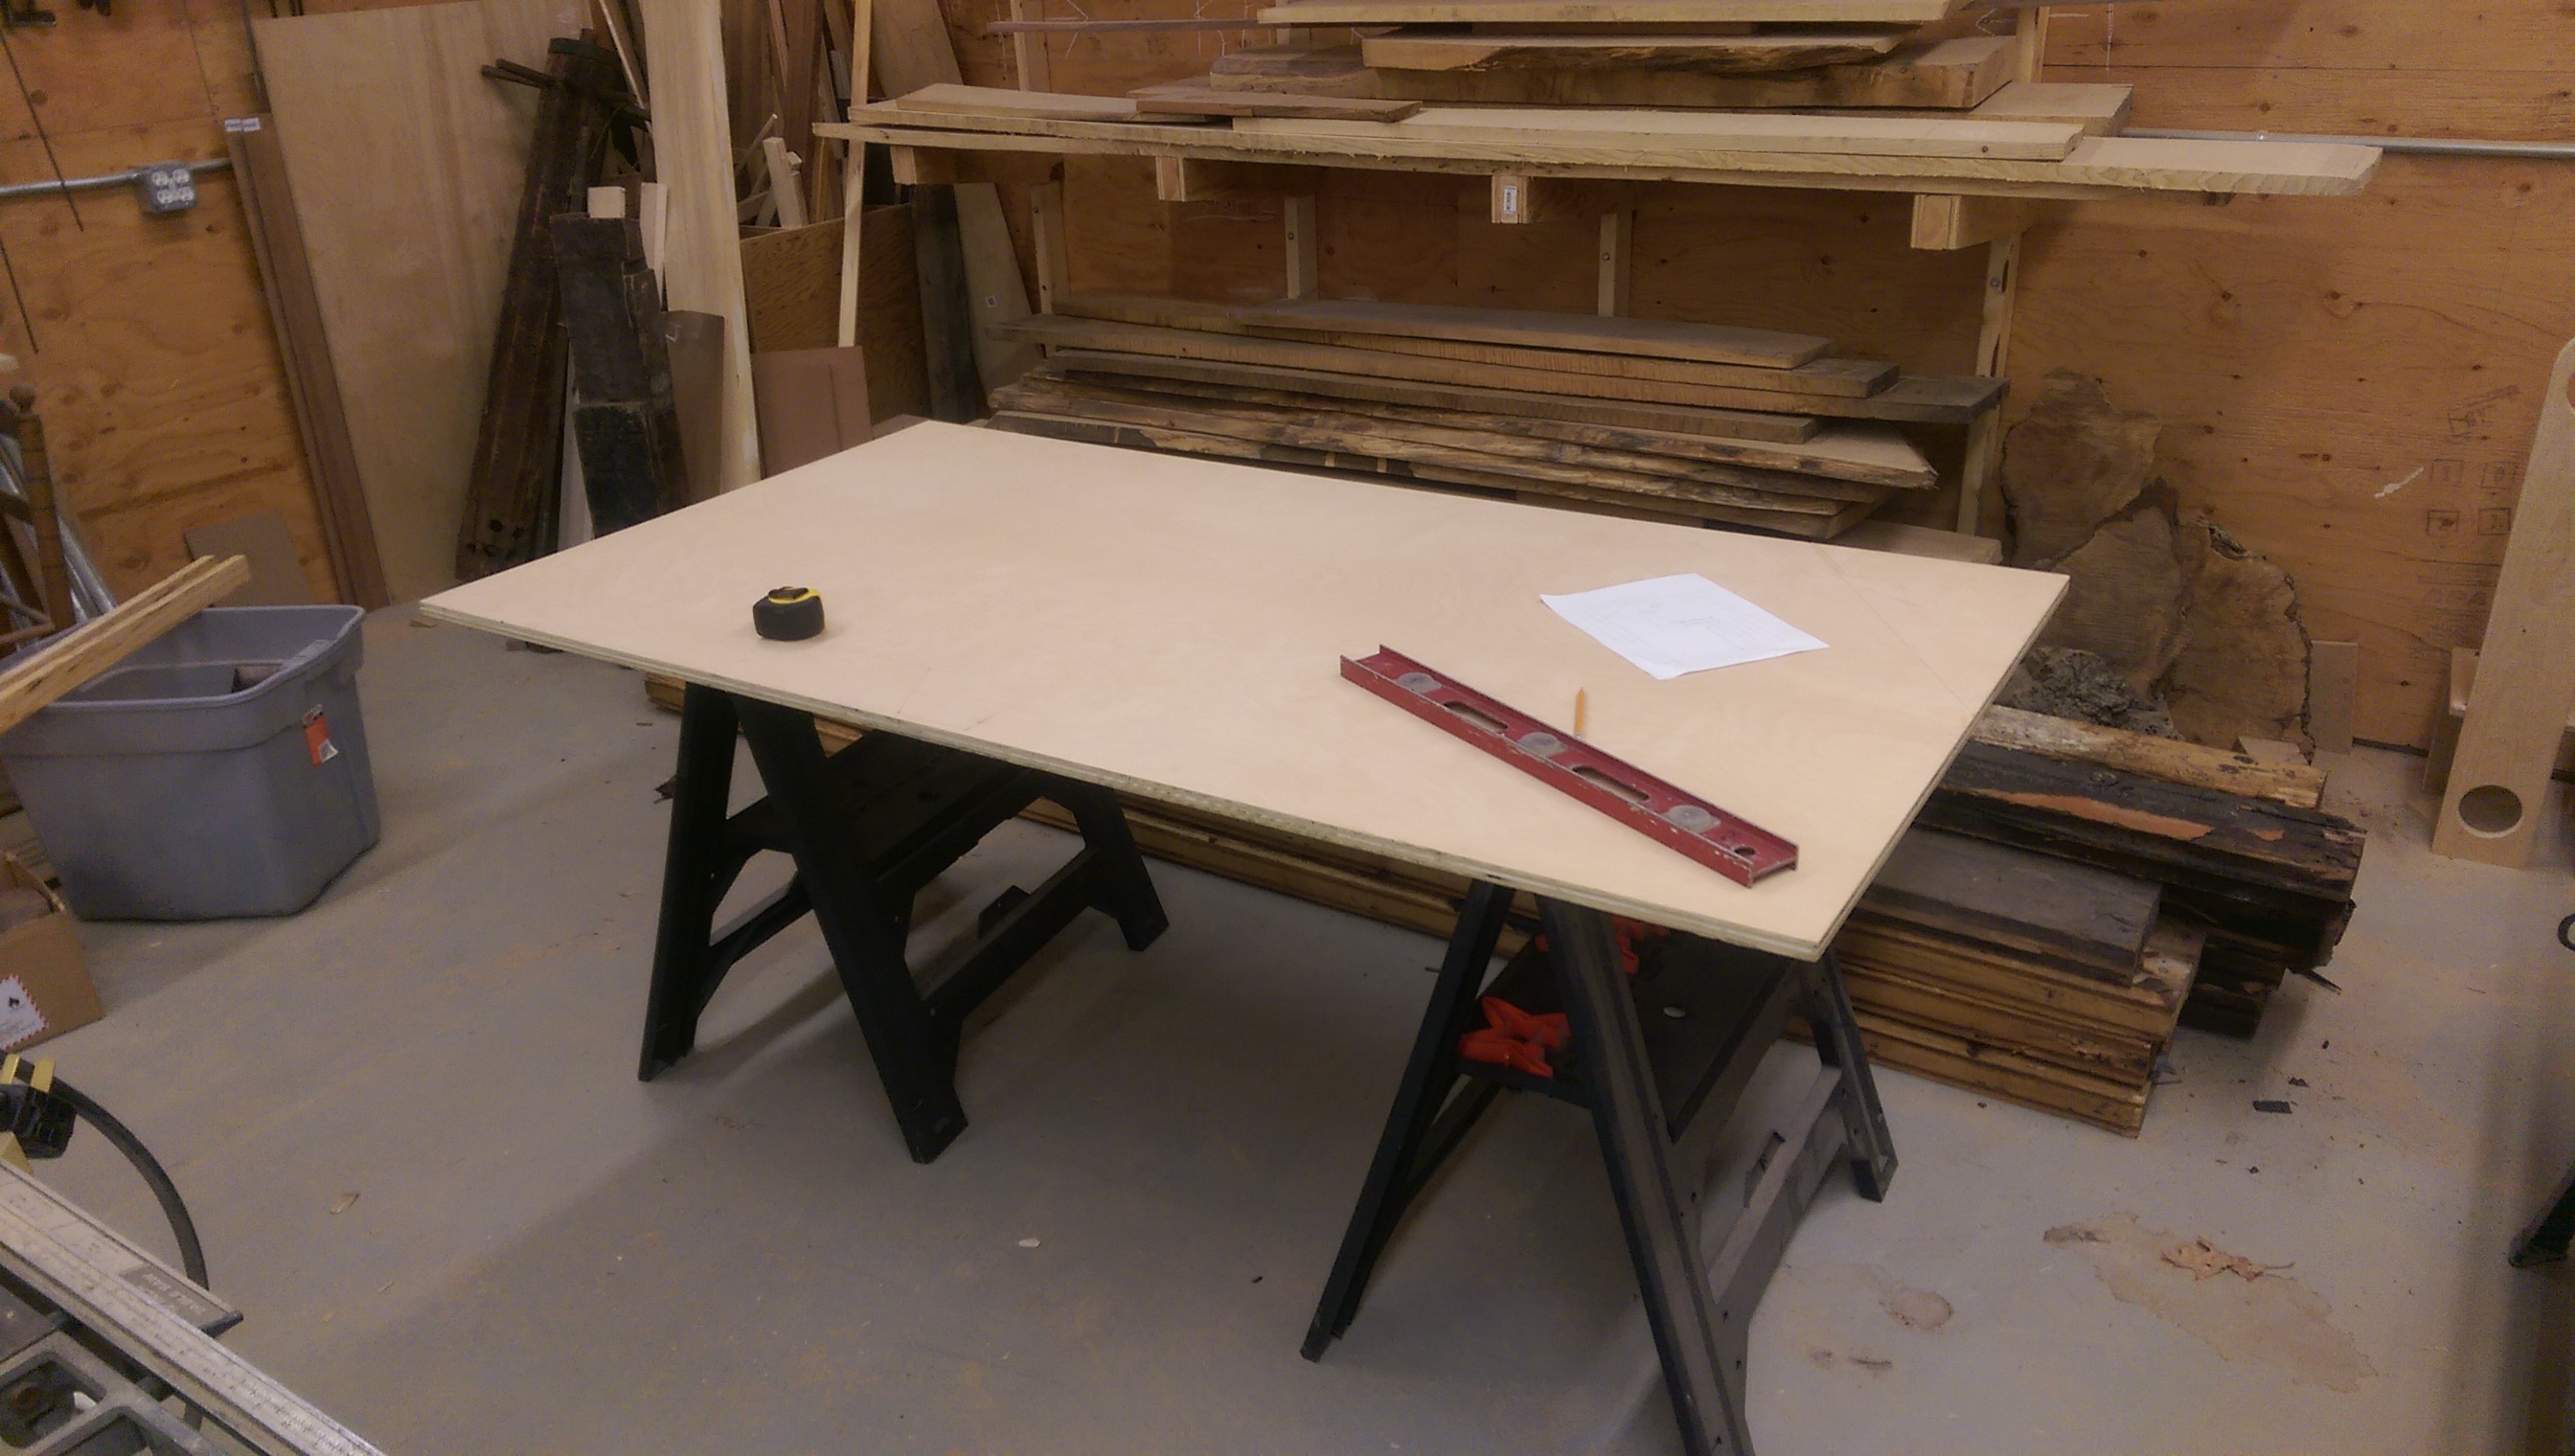
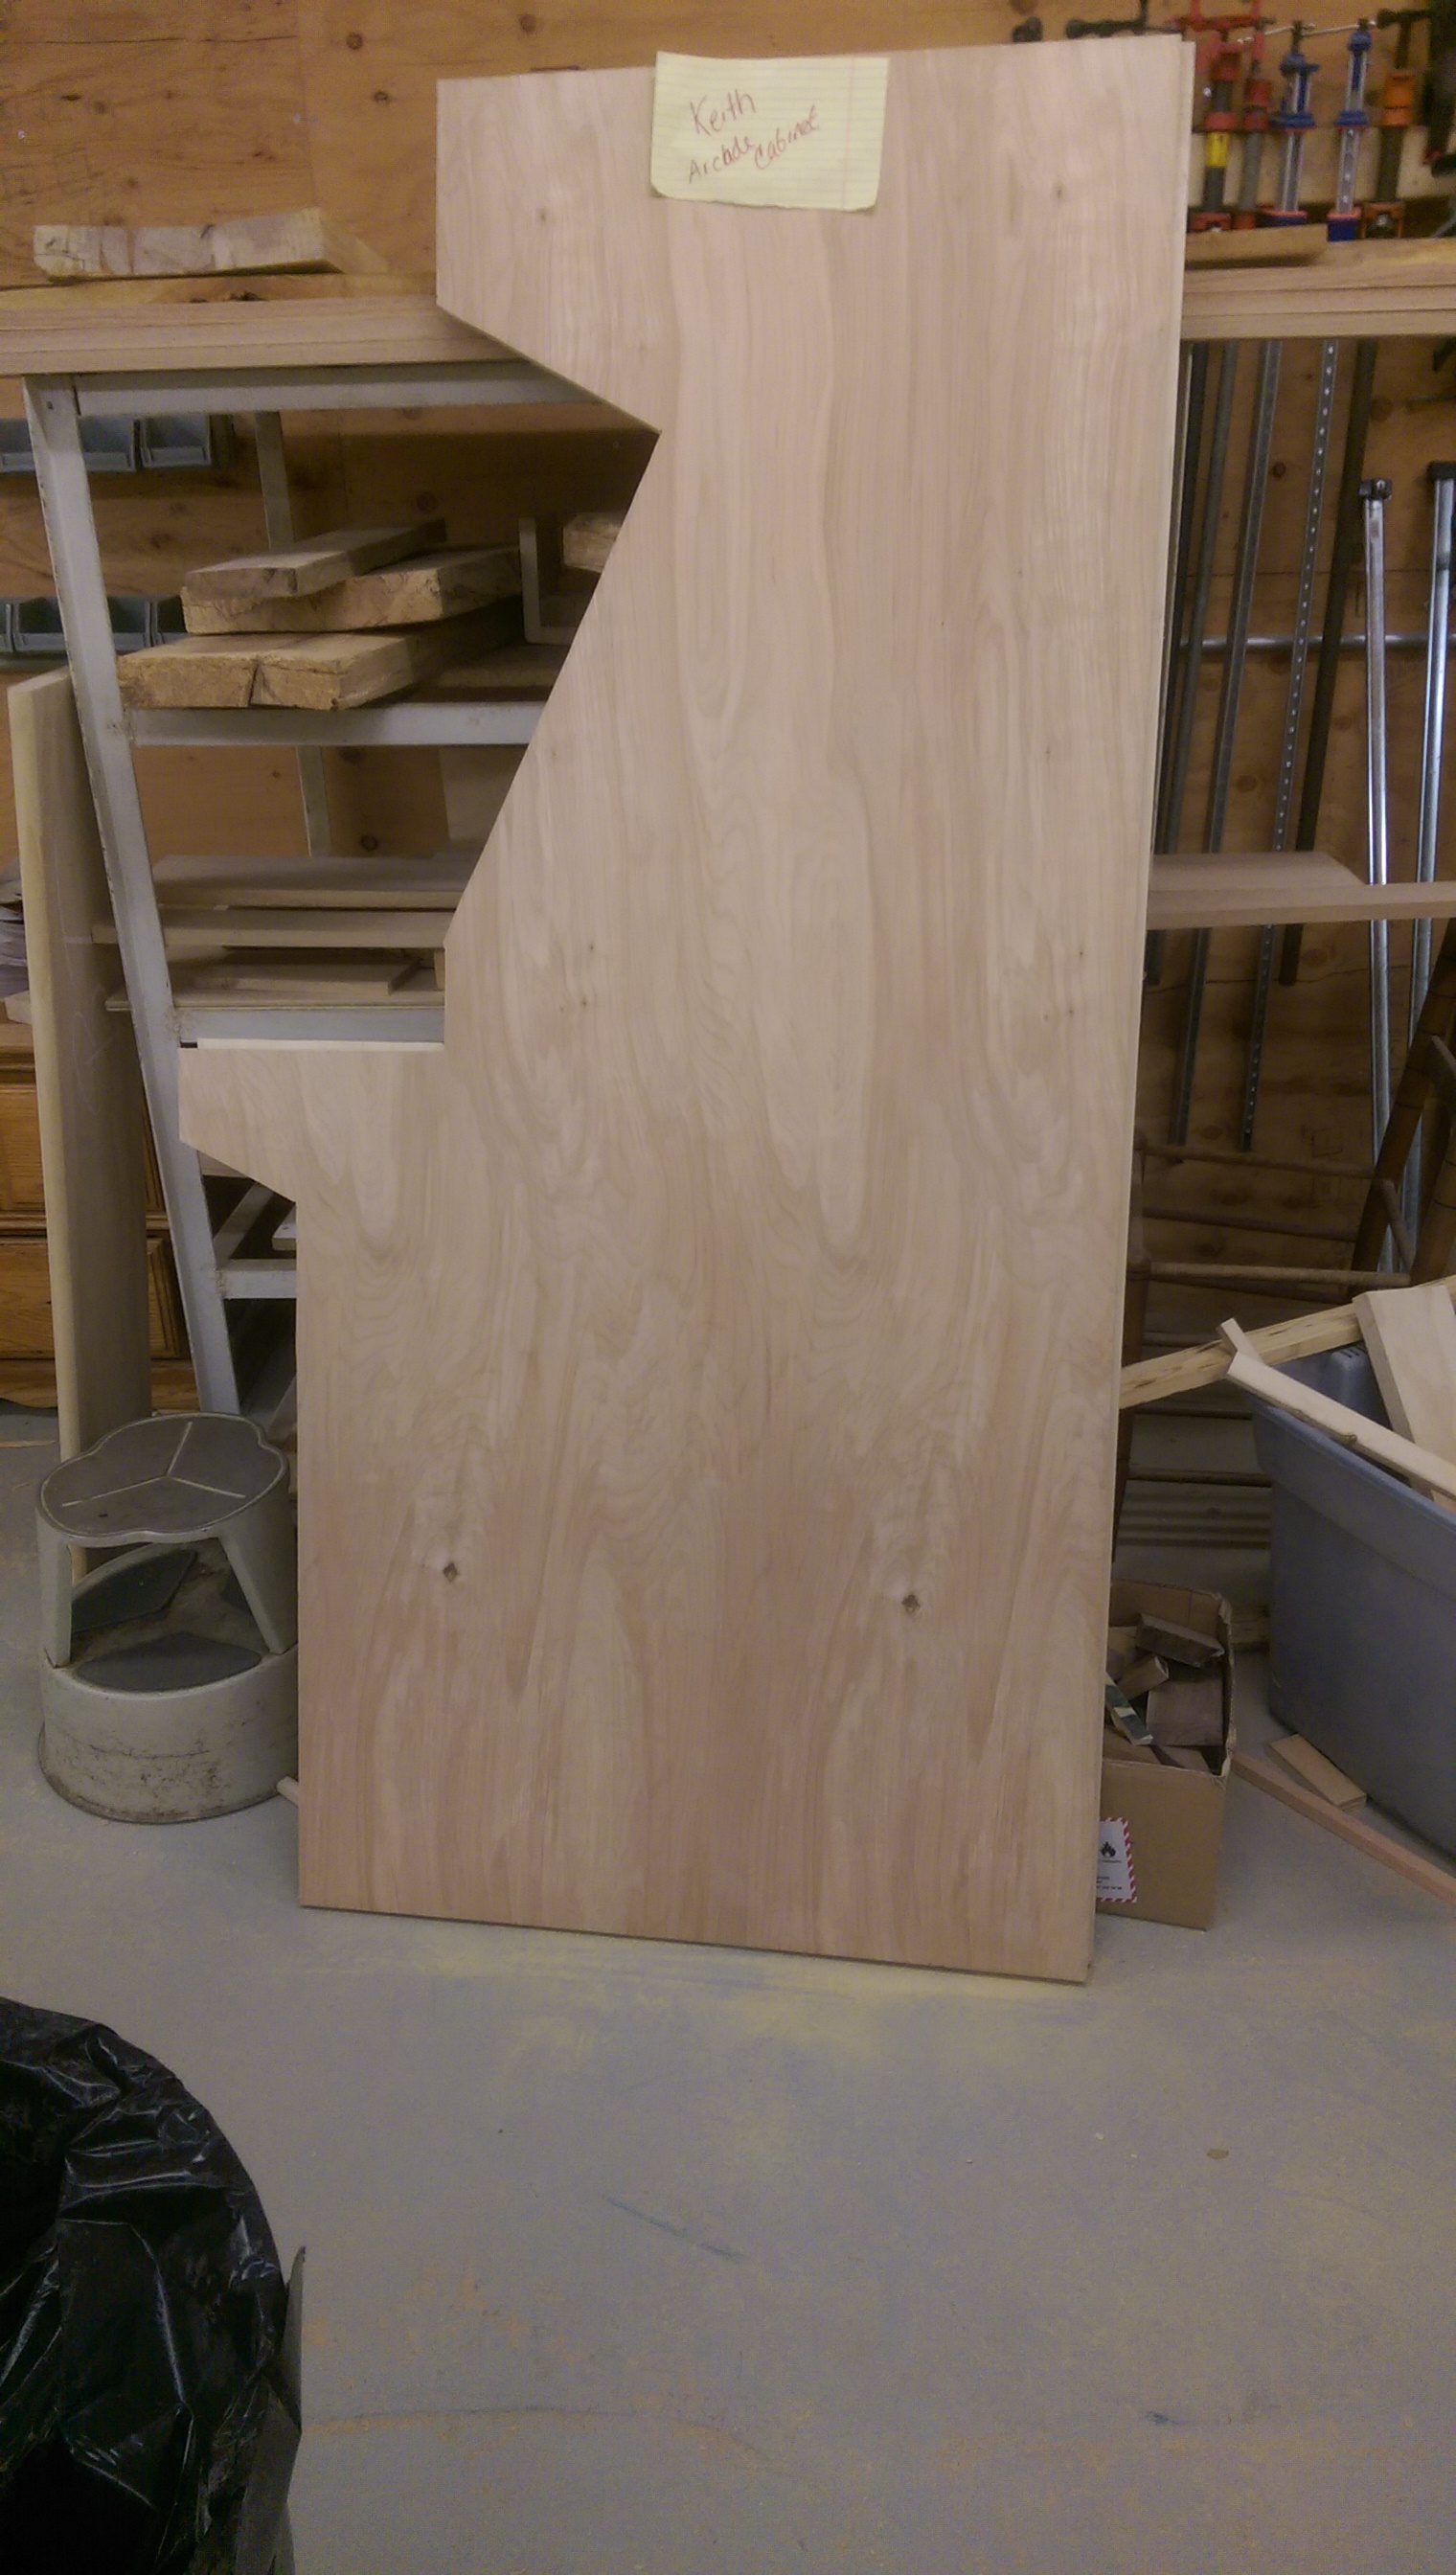
So, we start with three lovely plywood sheets. Two of these are used almost entirely for the sides. I cut out the shapes with a jigsaw and some fences to keep the lines straight. Despite being one of the very first steps I undertook, I think this is the phase that still gives me the most pride in how it turned out.
The remaining plywood gets cut into varying rectangles to form the shelves, top and back panels, and the base.
The important thing to remember about an arcade cabinet is that with modern technology where it is, the internals are going to be almost entirely empty space. The form factor is important to create both a shelf for a screen at eye level, and a place to hold a control panel at waist level. The remainder of the panels enclose the unit, and from these it’s all just a game of aesthetics.
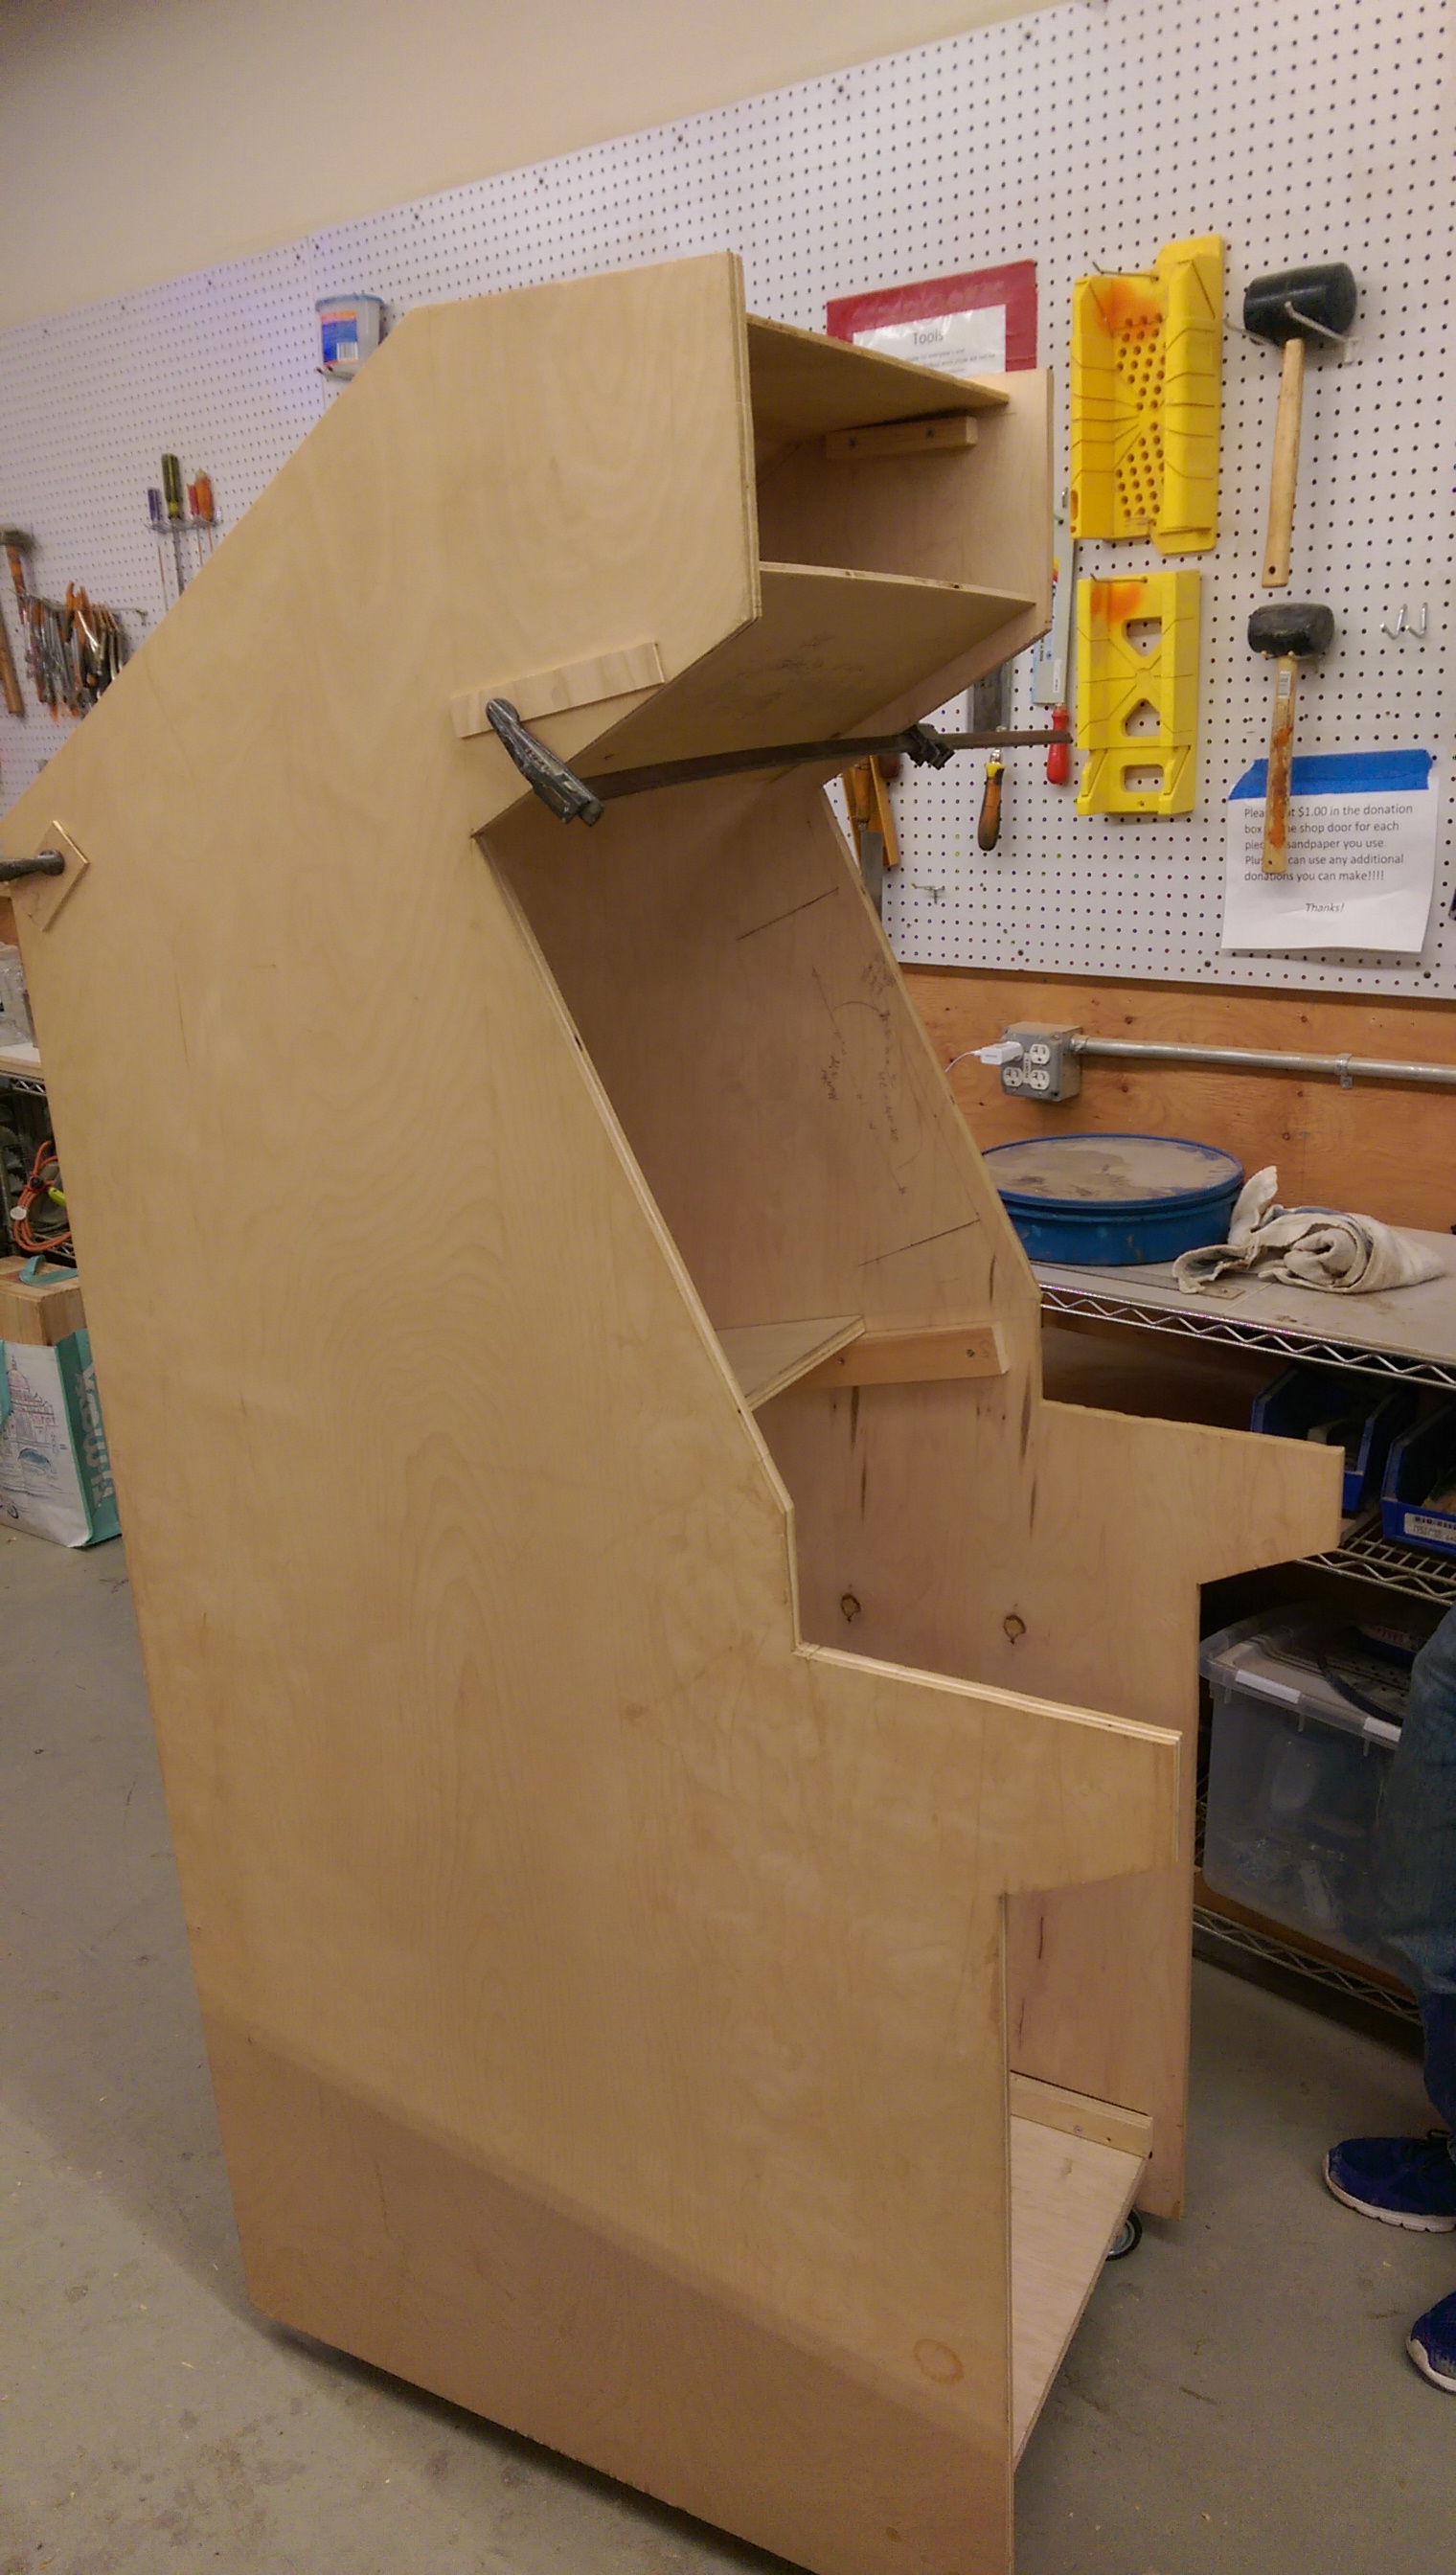
Getting the base in seemed easy, since there’s a slot for it. But I’ll be damned if Sam and I could figure out a graceful way to fit a screwdriver (let alone a power drill) in at a usable angle to attach the base to the ledger boards on the side. And this played out most of the pieces, the angles were just awful. From what I can gather, this plan from arcadecab.com was meant to show as little external hardware as possible. As a beginner in woodworking, I probably shouldn’t have considered this important, and found a different way to attach these things. But it’s done, mostly with significant amounts of elbow grease and Hail Mary pre-drilling.
The base sits on casters to make the thing easier to move. Seems like this would be optional, but during the construction phase it was rolling in and out of its various temporary homes constantly. Being able to do so was a major energy-saver.
Choosing a screen turned out to be a source of great consternation for the group. A CRT TV would provide the proper aesthetic, but comes with a much higher weight and takes up much more space. The bigger issue, however, was actually getting the maximal size. Pythagoras informed me that based on the widths I had cut, we could fit a 25” television, but that turns out to be hard to come by. In the end, we compromised with a 19” LCD monitor with a wooden bezel for the time being. With the half-back construction and removable panels, retrofitting a CRT is still possible down the line.
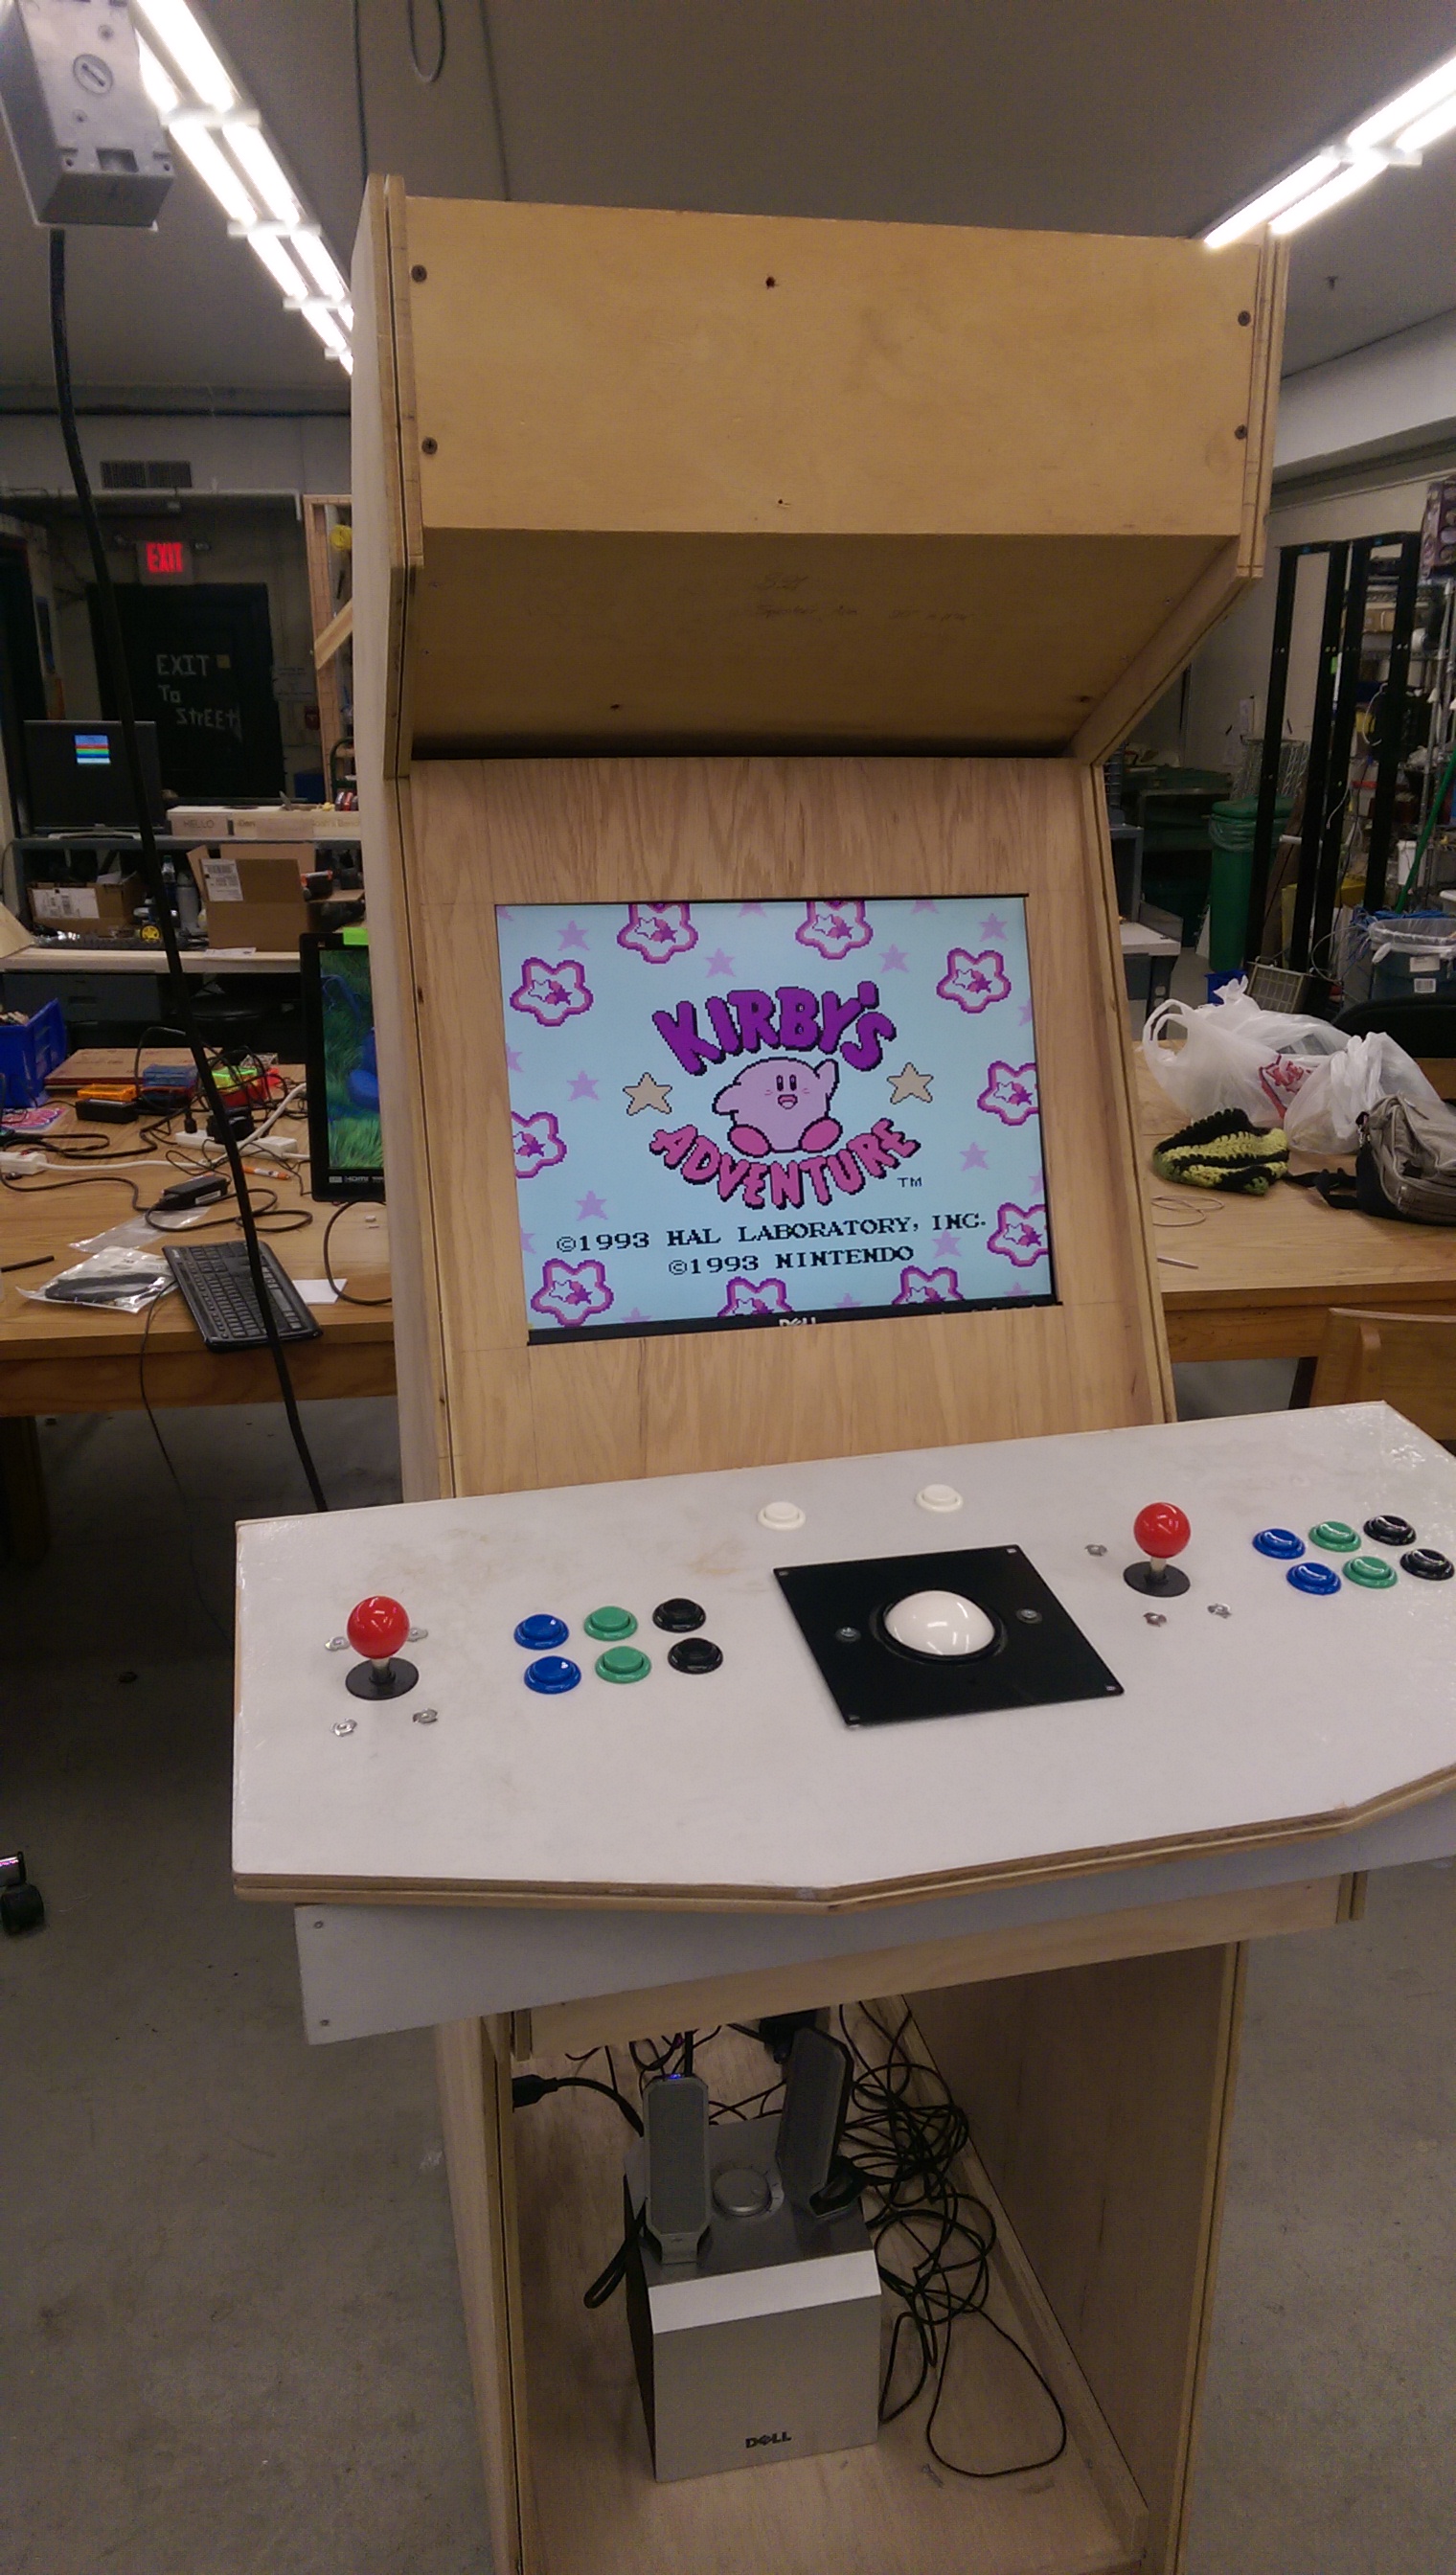
The control panel itself is pretty much stand-alone, and simply outputs a USB cable. After all of the pieces were assembled, the challenges moved quickly from woodworking to software. We are currently using a Raspberry Pi Model 3 running the “Recalbox” image, a Debian-based distribution pre-configured with frontend and backend utilities to emulate a variety of gaming systems. The control panel mimics a keyboard, so configuration was fairly straightforward once the buttons were properly wired up.
A set donated speakers (thanks Mike!) provide audio, and simply plug into the 3.5mm output jack on the Pi. I plan on adding some grills here to improve the overall aesthetic.
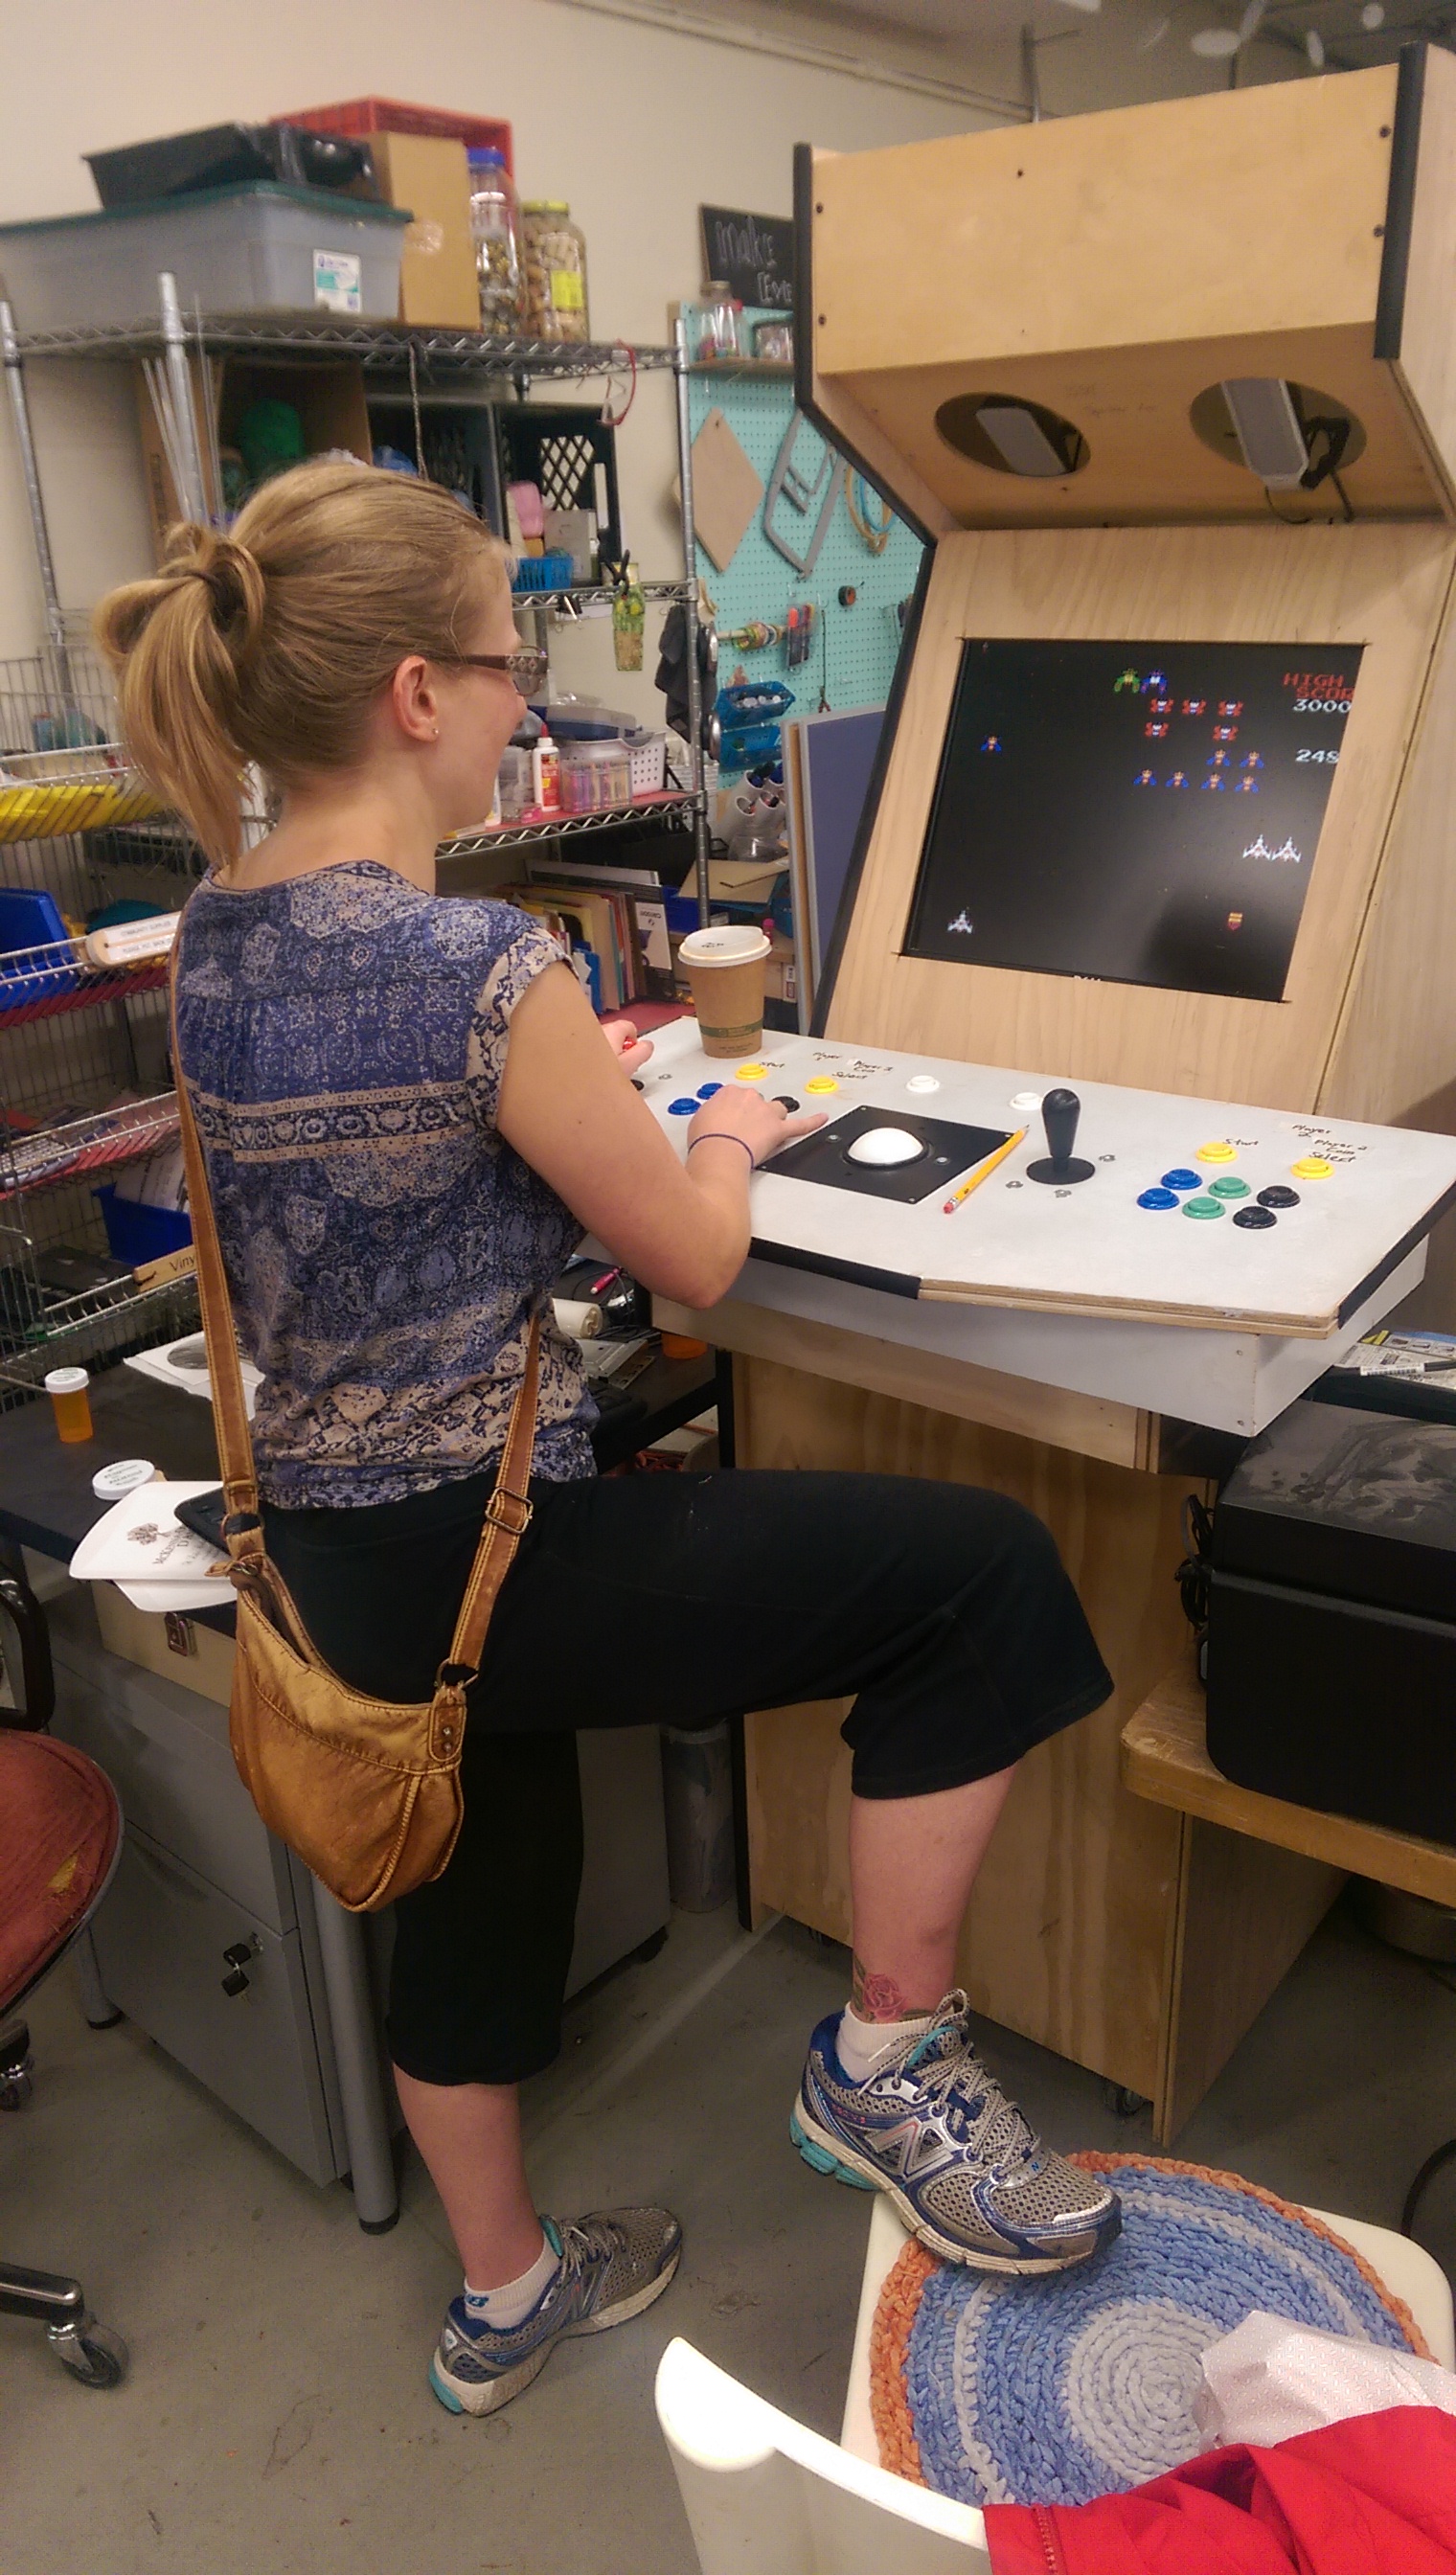
There’s still much to do, especially in the way of decoration. Plus, Recalbox likes to crash a lot at the moment, so additional debugging will be necessary. But this is an accomplishment I think we can be proud of. I certainly am.